
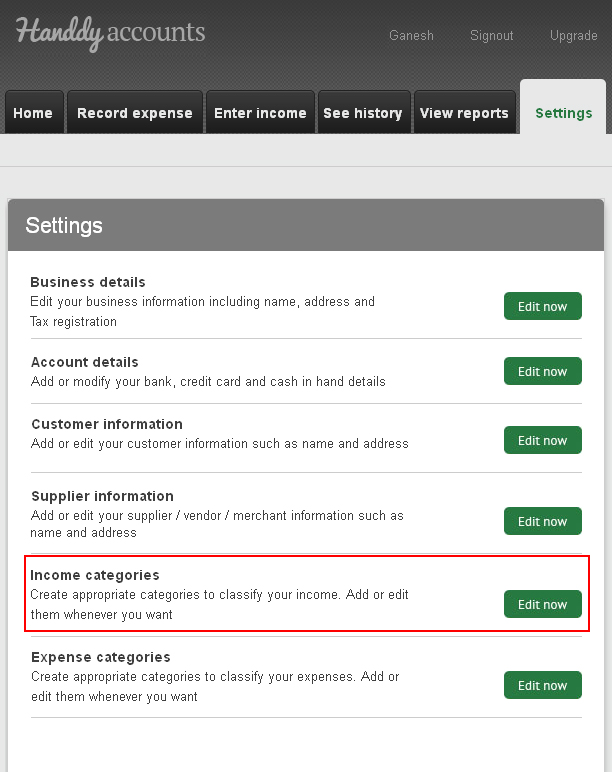
- Log in to your account. Select “Settings”.
- Find “Income Categories” and click the green “Edit Now” button.
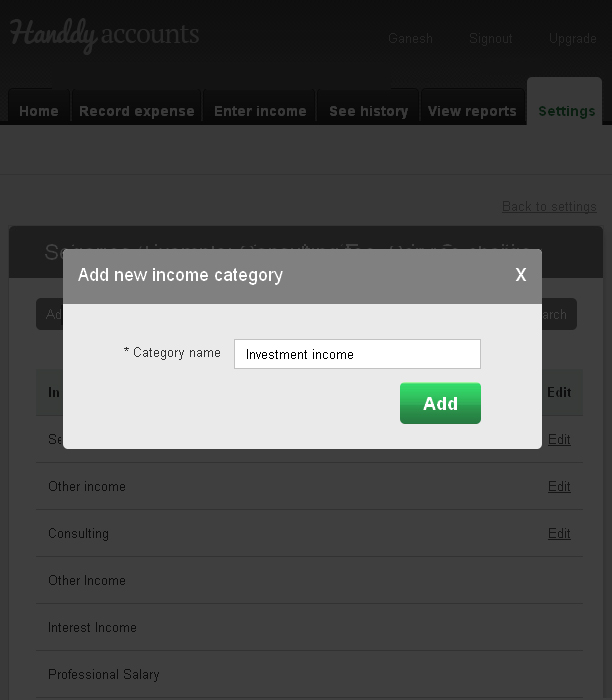
3. Click on the “Add new income category button” and enter the name of the category.
4. Click “Add”.
Note: You can add new income category while you “enter an income” as well. Just click on the Category field and select from the drop down list or click “Add new category” and follow the instructions.
Note:
Did you try our online invoicing software for small businesses yet? Try it for free now
1. Login to your account
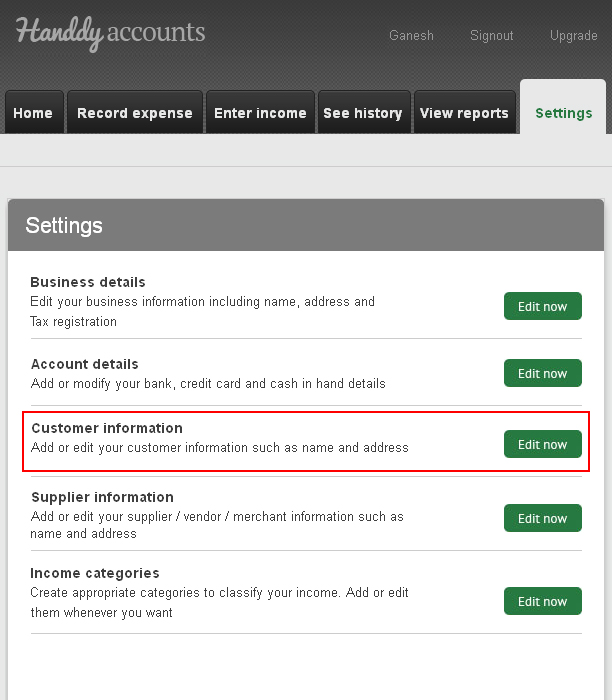
2 . Click on ” Settings”
3. Find “Customer Information” and select “Edit now” button.
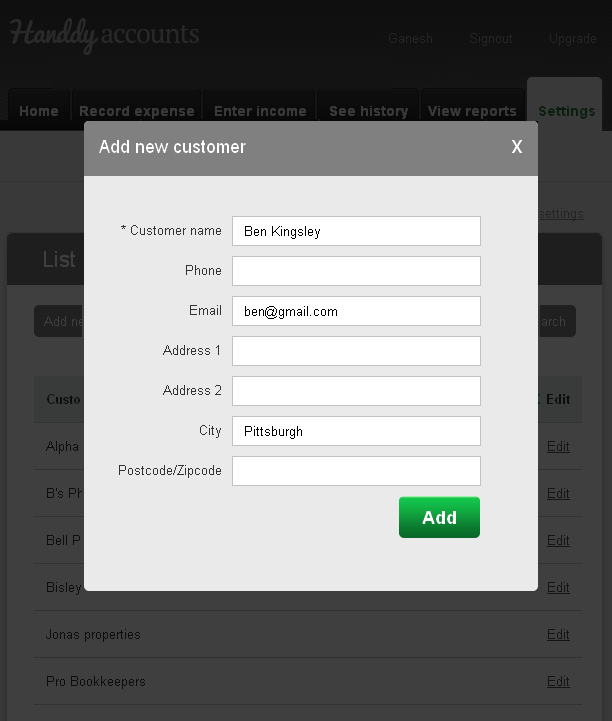
4. Click on “Add new customer”.
5. Enter the required details and click “Add”.
Note
Did you try our online invoicing software for self employed yet? Try it for free now
- Login to your “Handdy Accounts” account.
- Go to Enter Income. Scroll down
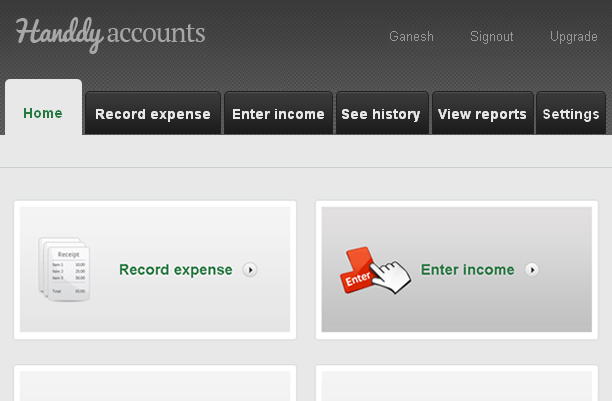
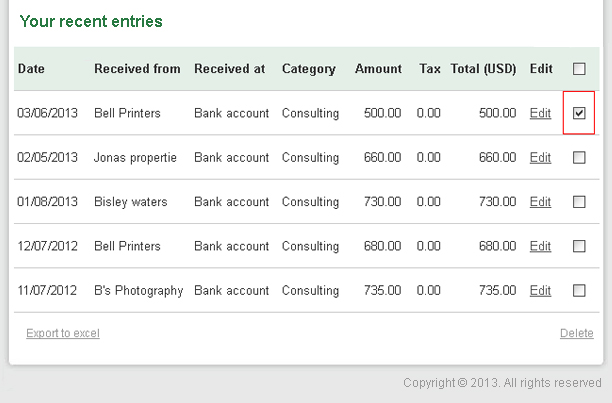
3. “Your recent entries” section will have your entries
4. Check ‘Edit’ as seen below
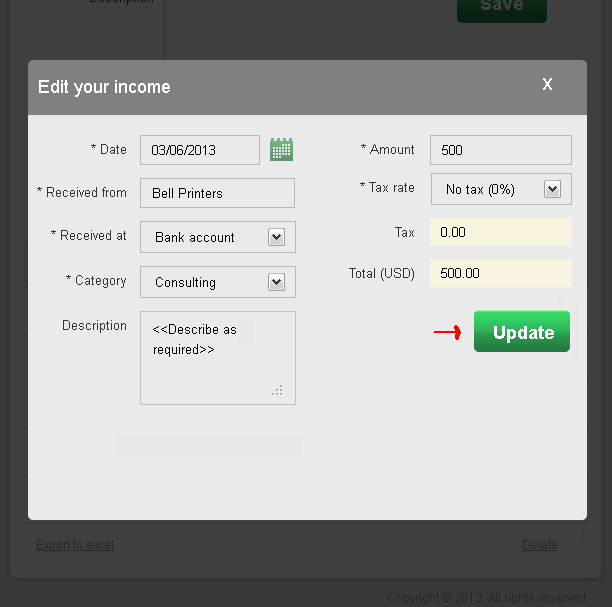
5. The Edit Your Income window appears. Modify the details and click Save.
Note
Did you try our easy to use online invoicing software yet? Try it for free now
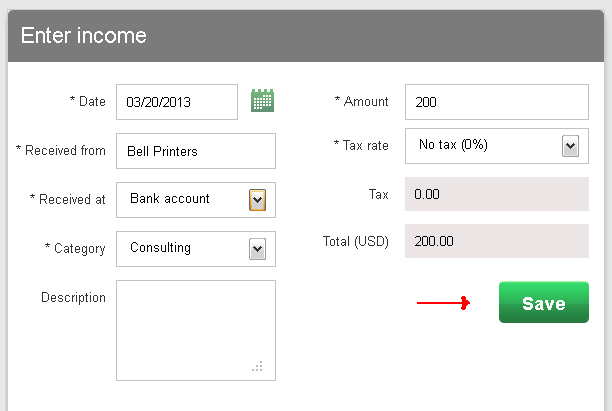
1. Login to your account.
2. Click on “Enter Income” on the Home Page.
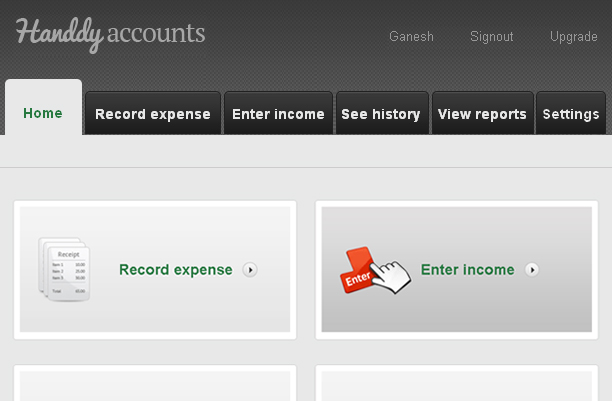
3. This takes you to the “Enter Income” page.
4. Enter all details and click on “Save”
Note
Did you try our online invoicing software for small businesses yet? Try it for free now